
Maintenance: “The act of keeping property or equipment in good condition by making repairs, correcting problems, etc.” We all love when our equipment plays and feels great to work with. All is right in our world, until it JUST. ISN’T. RIGHT. It can be a terrible feeling when you don’t have a plan to make it right again, or a clue how to do so. What you need is a procedure that takes care of all the components of the gear you’re working with, and an easy process of elimination of the problem. Here’s a great starting point for maintenance of a snare drum.
Setting Up Your Workspace
To start, it’s a great idea to have a clean workspace to work on your drum. A workbench or a large table is a good starting point. You’re going to need only a few tools (drum key, screwdriver, lithium lubricant, polishing cloth and some elbow grease) to get started.
Drumhead and Snare Wire Inspection
The first thing we will do is to remove the drumheads with the drum key, and snare wires with either a drum key or screwdriver. Inspect the drumheads for dents or breakage. Replace if necessary. Check to see if the snare wires are bent or broken, or don’t lay flat. These problems directly influence the snare wire’s ability to let the drum “snap” and give the crisp sound we look for. Replace the wires and the snare cord or strap if worn.
Cleaning and Checking the Drum
Take a polishing cloth or rag and give the drum a wipe down, making sure to get any stick debris or dust out of the inside of the drum. Make sure no debris is on the bearing edge of the drum. After removing the tension rods and setting those aside, check to see that the hoops are clear of debris as well. Hoops can really get grungy, and if not looked after can become corroded and rob the drum of tone.
Ensuring Tightness and Applying Lubricant
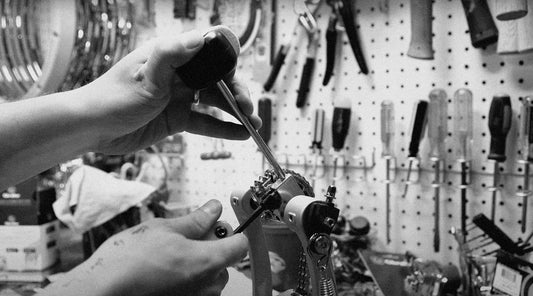
While the drum is open, make sure to see if all the screws that hold the lugs, strainer and snare butt plate are tight. Loose parts are the last thing you want rattling around on the inside of a drum during a performance. Your drum will tune up much easier as well.
Check your tension rod swivel nuts for stripping, and replace if they are damaged. A good idea for long life of both the swivel nut and tension rod is to apply some lithium lubricant for a smooth threading of the tension rod. Make sure the tension rod washers are all in place and in good condition for ease of tuning.
Re-heading and Tuning the Drum
When re-heading the drum, aim for even seating of the drumhead by using a reverse star pattern, much like you would mount a tire on a car. This betters your chance of an even sound at each lug when bringing the drum up to your desired tuning and pitch. Tap around the edge of the drum at each lug, and make adjustments higher or lower to achieve what you’re looking for. More tension brings a higher pitch. On the snare side of the drum, make sure that when you mount the snare wires that they are equidistant from the edges when fastened to the snare strainer and snare butt plate, and are laying flat in the snare bed. A good rule of thumb is to have the snare strainer at a medium tension and engaged when doing this, so that you can bring the tension up higher if needed, and not have to undo the wires and start the whole process over. This will also ensure that the snare wires make a good contact with the snare side head, and give us the response we look for in a great sounding snare drum.
Final Cleaning and Being Prepared
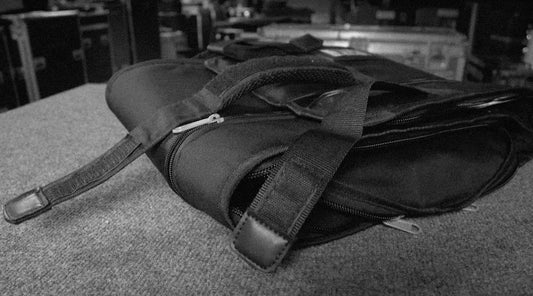
Lastly, wipe down the hoops and hardware and “high traffic” areas like the strainer with alcohol wipes to remove fingerprints and grease, which both attract dirt and grime. Another thing to have on hand at all times is a small bag of essential replacement parts, like tension rods, washers, snare cords or straps, and drum keys. Even the most prepared players encounter missing parts or a broken part at some point in their career, so it’s best to not need it and have it than need it when you don't have it! A failure to plan is a plan to fail. Get familiar with how to maintain your gear, and you’ll spend more time playing and less time dealing with easily eliminated problems.