
Shop The Collection
-
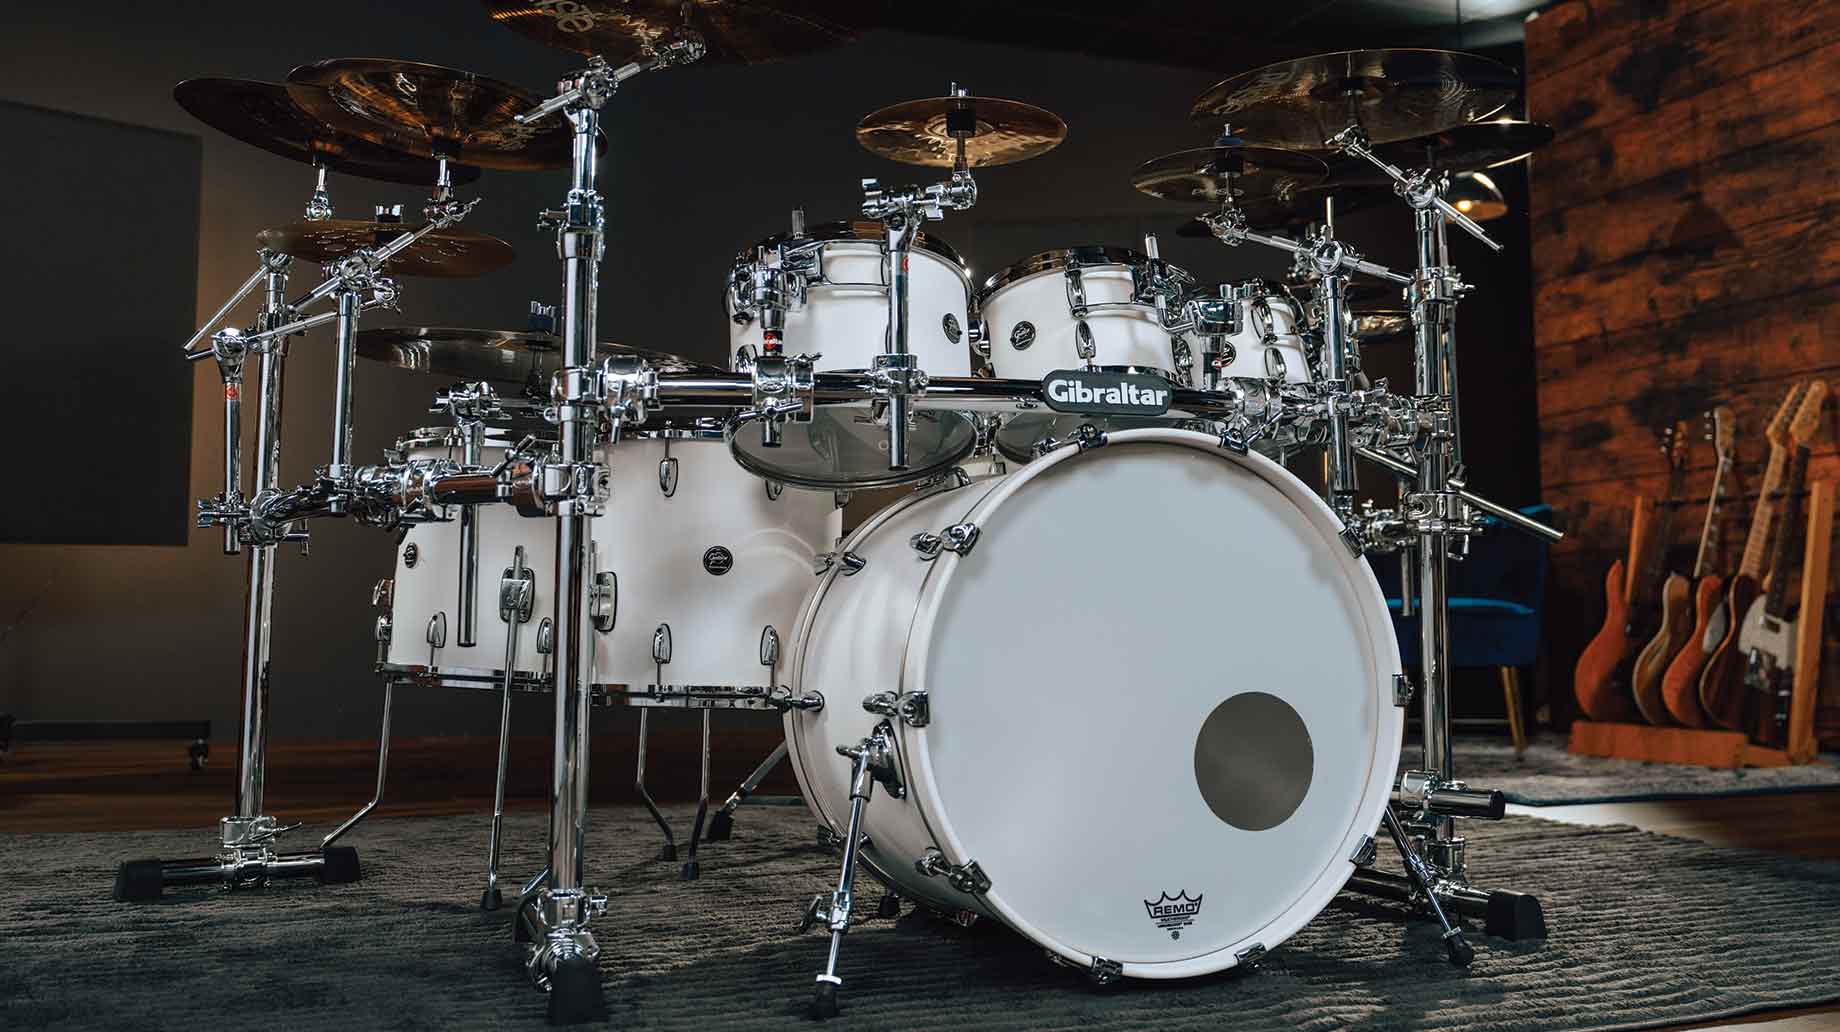
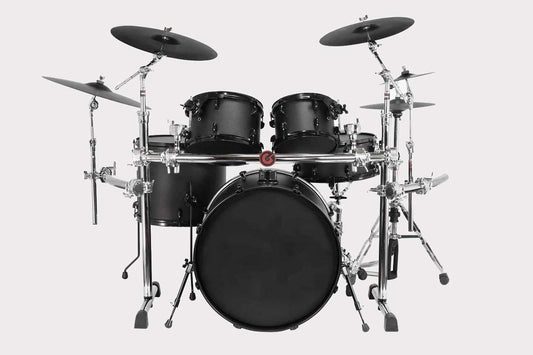
Chrome Series II Drum Rack
Regular price $369.99Regular priceUnit price per -
Chrome Series II Drum Rack with Wing Extensions
Regular price $449.99Regular priceUnit price per -
Chrome Series II Double Bass Drum Rack
Regular price $499.99Regular priceUnit price per -
Chrome Series II 3-Sided Drum Rack
Regular price $599.99Regular priceUnit price per


Shop by Category
-

Drum Thrones
Take a seat with Gibraltar round or saddle drum thrones, including vinyl,...
-
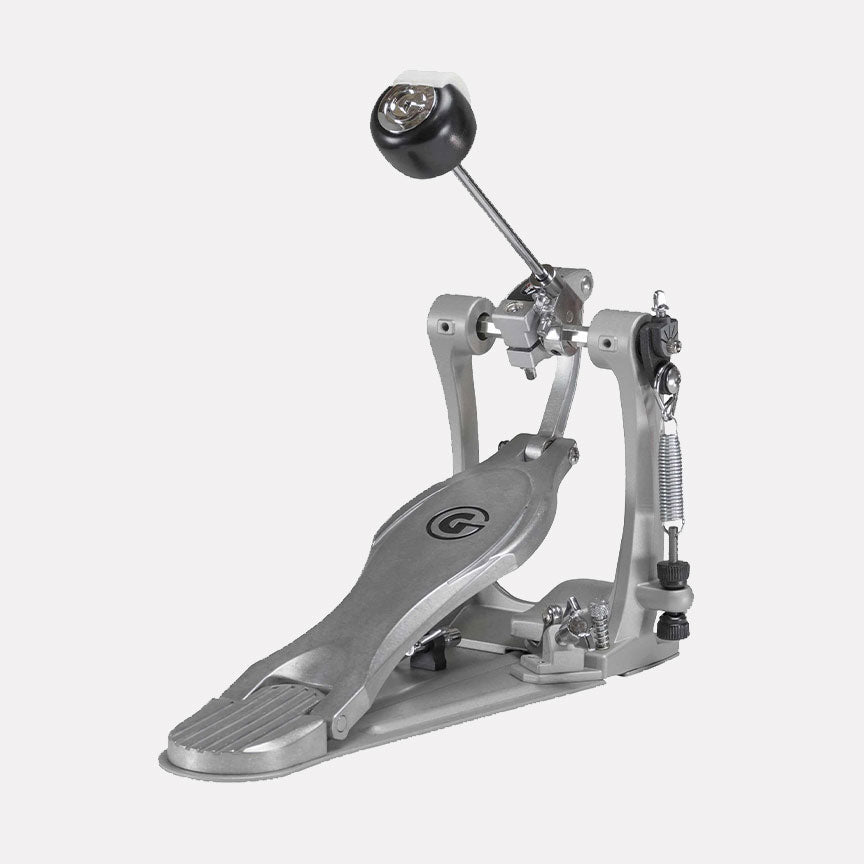
Bass Drum Pedals
Find your feet with Gibraltar bass drum pedals. Step on and discover...
-

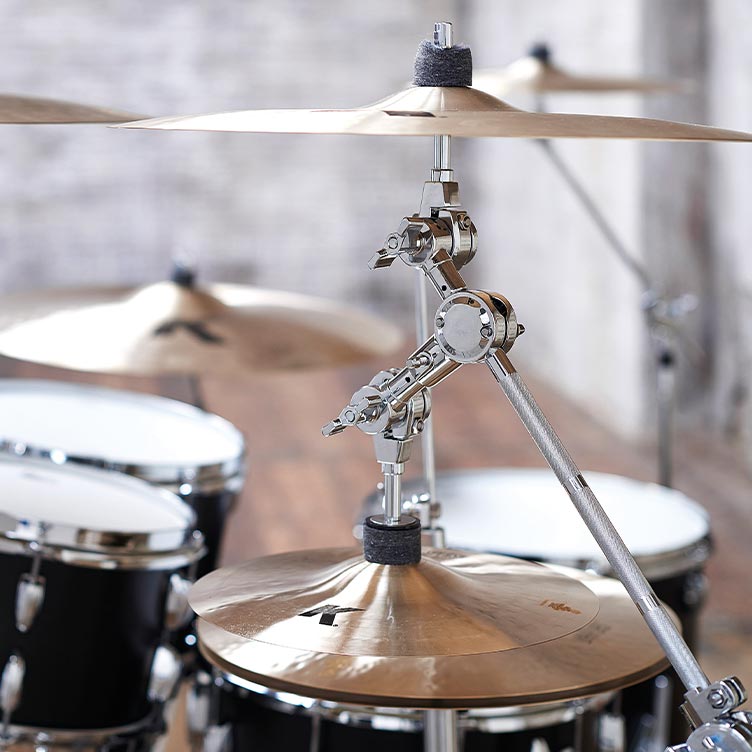
Drum Rack Clamps
Secure your setup with our drum rack clamps. Engineered for durability and...


Gibraltar Guides
From Gibraltar artist updates to building a custom drum kit or learning how to maintain your gear, don't miss a story.
Advice & Articles
-

Drum Kit Ideas: How to build a 3 piece drum kit...
Custom Build this Stealth Side Mount Rack Drummers, it's time to revamp that kit! Ever dreamt of a killer 1-Up/1-Down setup? With the Gibraltar Stealth Side Mounting System, you can...
Drum Kit Ideas: How to build a 3 piece drum kit...
Custom Build this Stealth Side Mount Rack Drummers, it's time...
-
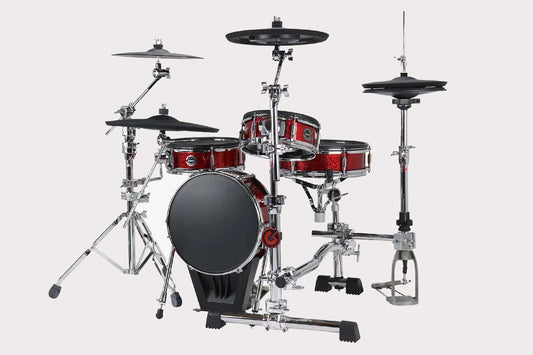
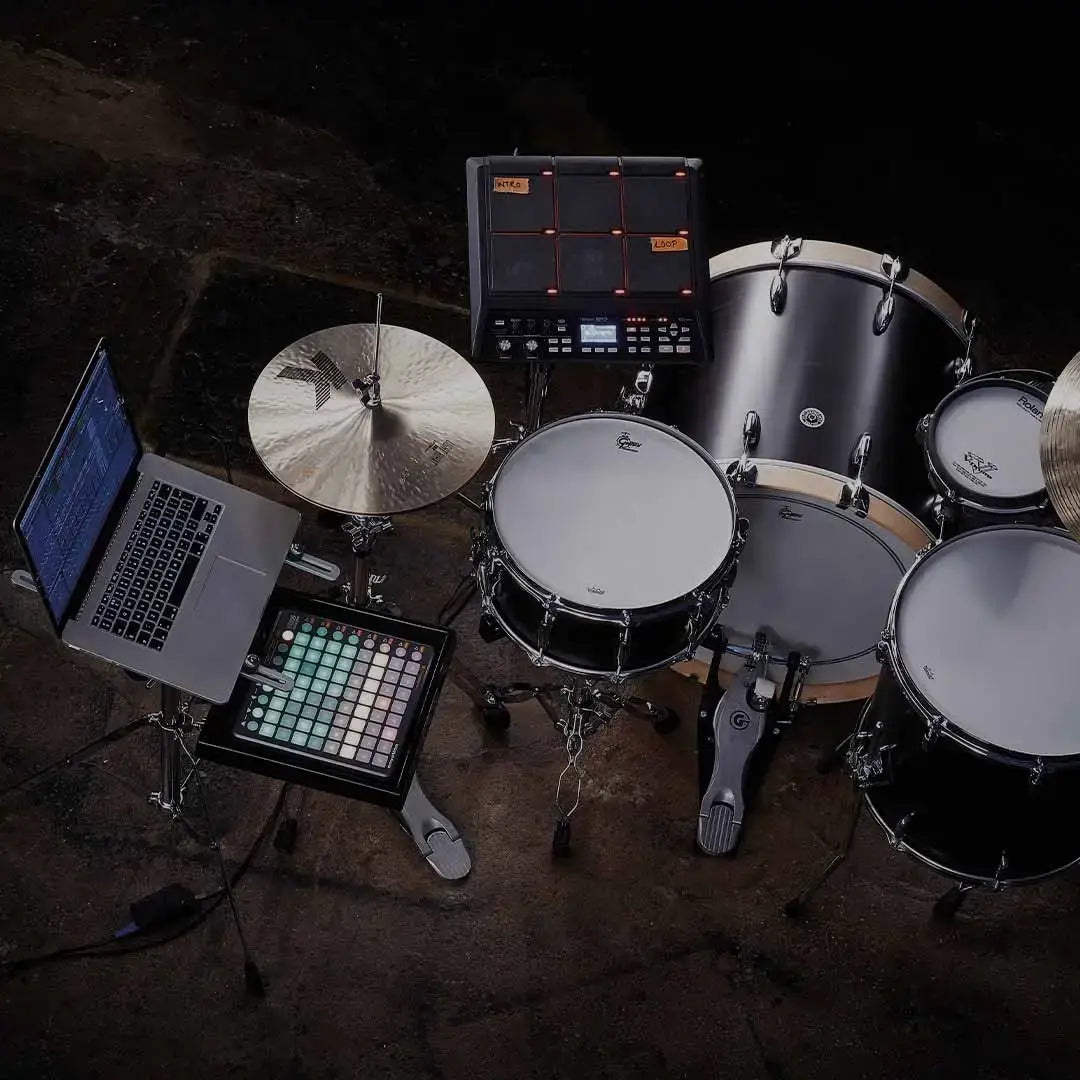
Drum Kit Ideas: Build a Stealth Four Piece Elec...
See how you can custom build a Stealth rack for your 4- piece E-Kit that delivers an extremely clean and efficient set-up while allowing flexibility and customization! Combined with your...
Drum Kit Ideas: Build a Stealth Four Piece Elec...
See how you can custom build a Stealth rack for...
-
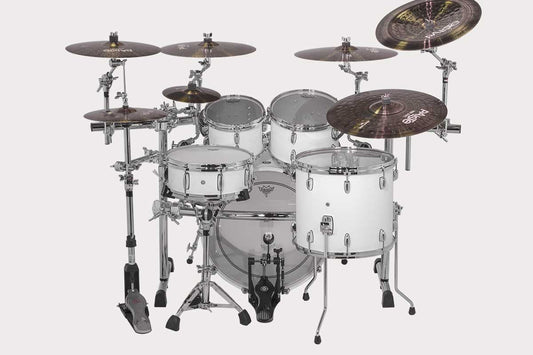
Get Your Groove on with the GCS375R Curved Rack
Hey drummers! If you’re looking to amp up your kit, you’ve gotta check out the GCS375R Curved Rack with Two Curved Wings. It's a total game-changer, especially if you're rocking...
Get Your Groove on with the GCS375R Curved Rack
Hey drummers! If you’re looking to amp up your kit,...
-
The Gibraltar Ghost Rack: The Phantom of Your D...
When the moon is high and the night is chilly, drummers around the world conjure the most mystifying beats, echoing the spirits of bygone eras. And at the heart of...
The Gibraltar Ghost Rack: The Phantom of Your D...
When the moon is high and the night is chilly,...


